
Google Cloud Account Identity Setup
May 29 2023 at 12:00 AM
Description
This document provides a guide on how to set up an identity provider per account. The Commander™ platform allows users to log into their account using Google Cloud credentials. This ensures streamlined account management between an IoT.nxt® tenant and a client’s Google Cloud portal.
| Before Commander can be linked with Google Cloud, the user needs to register Google Cloud as a login provider for Commander. A user also needs to register a new app on their Google Cloud server. |
| The functions can only be performed by the account owner or users with the relevant account access. |
Key Features
- Allows users to set up a single sign-on where they can log in using their Active Directory accounts.
- Allows Google accounts set up.
- Allows account management between the tenant and the company’s Google portal.
- Ability to customise the look and feel of the environment.
- Updating themes and styles.
Configuring Google Cloud Environment in Commander
Once settings have been configured in the Google Cloud Console, authentication can be configured in Commander.
Open the Commander Portal and click on Environment settings found in the left hand menu (see Figure 1 below).
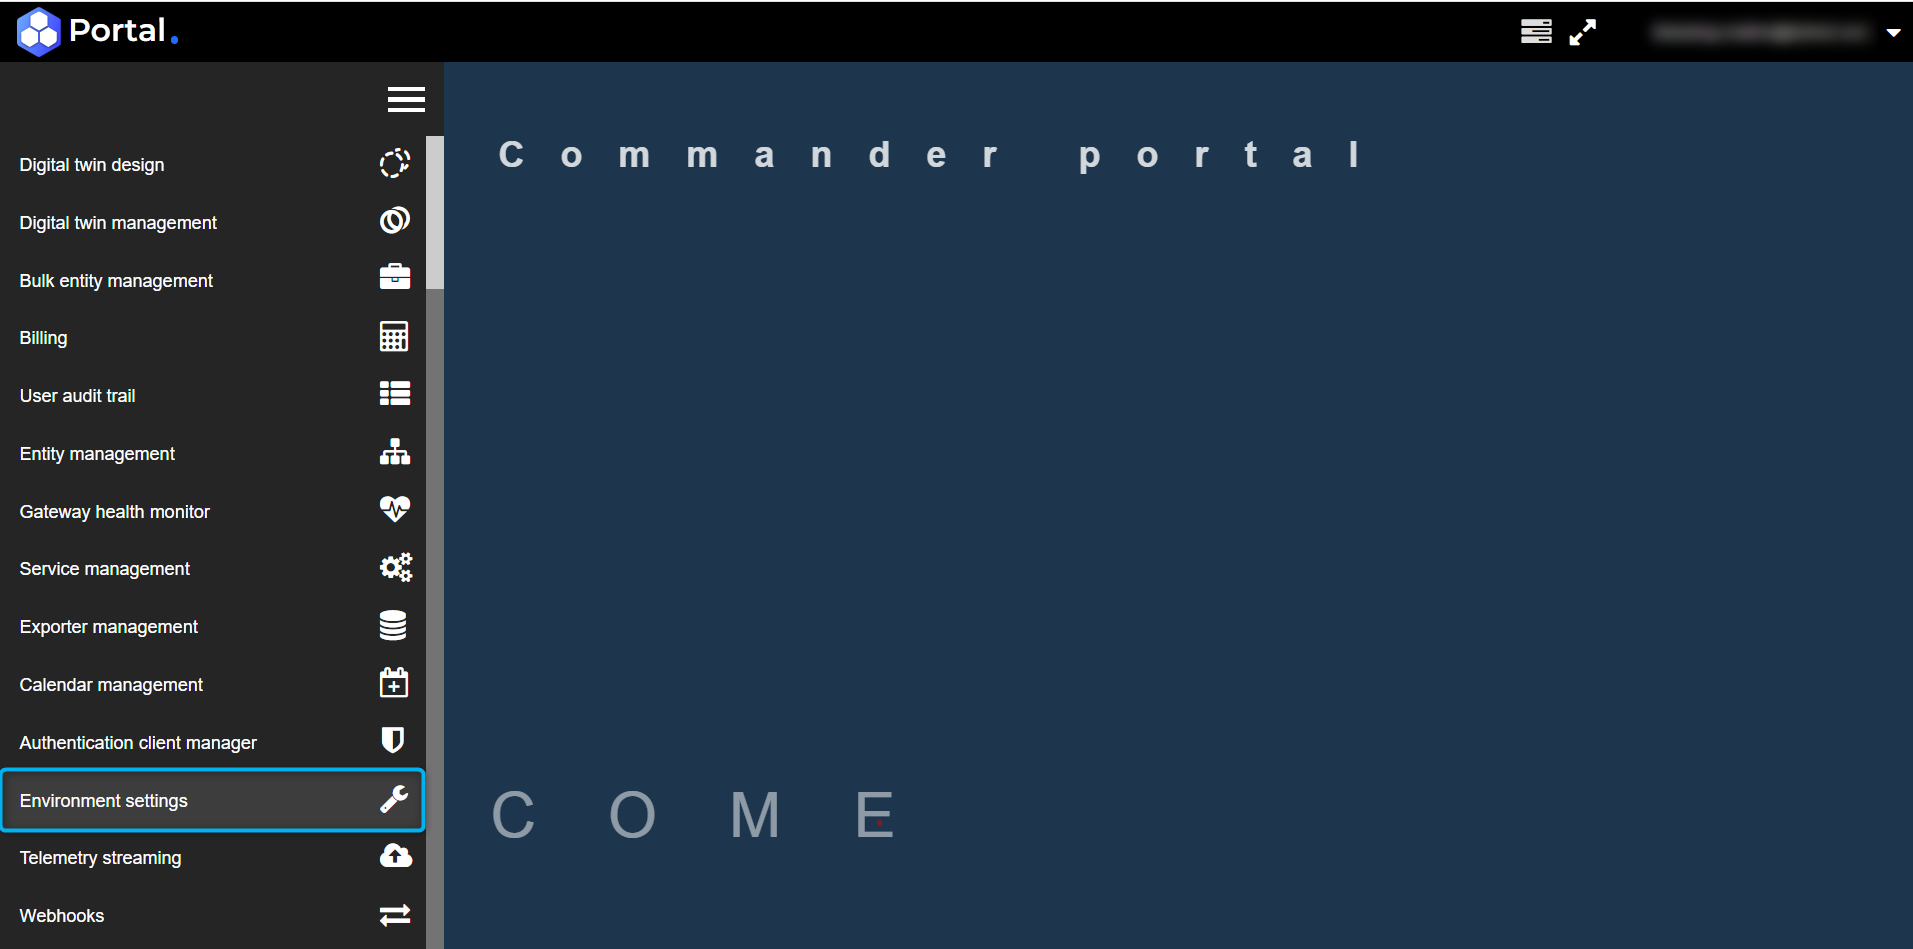
Figure 1 - Environment Settings
When the user clicks on the Environmental Settings option, the following screen is opened:
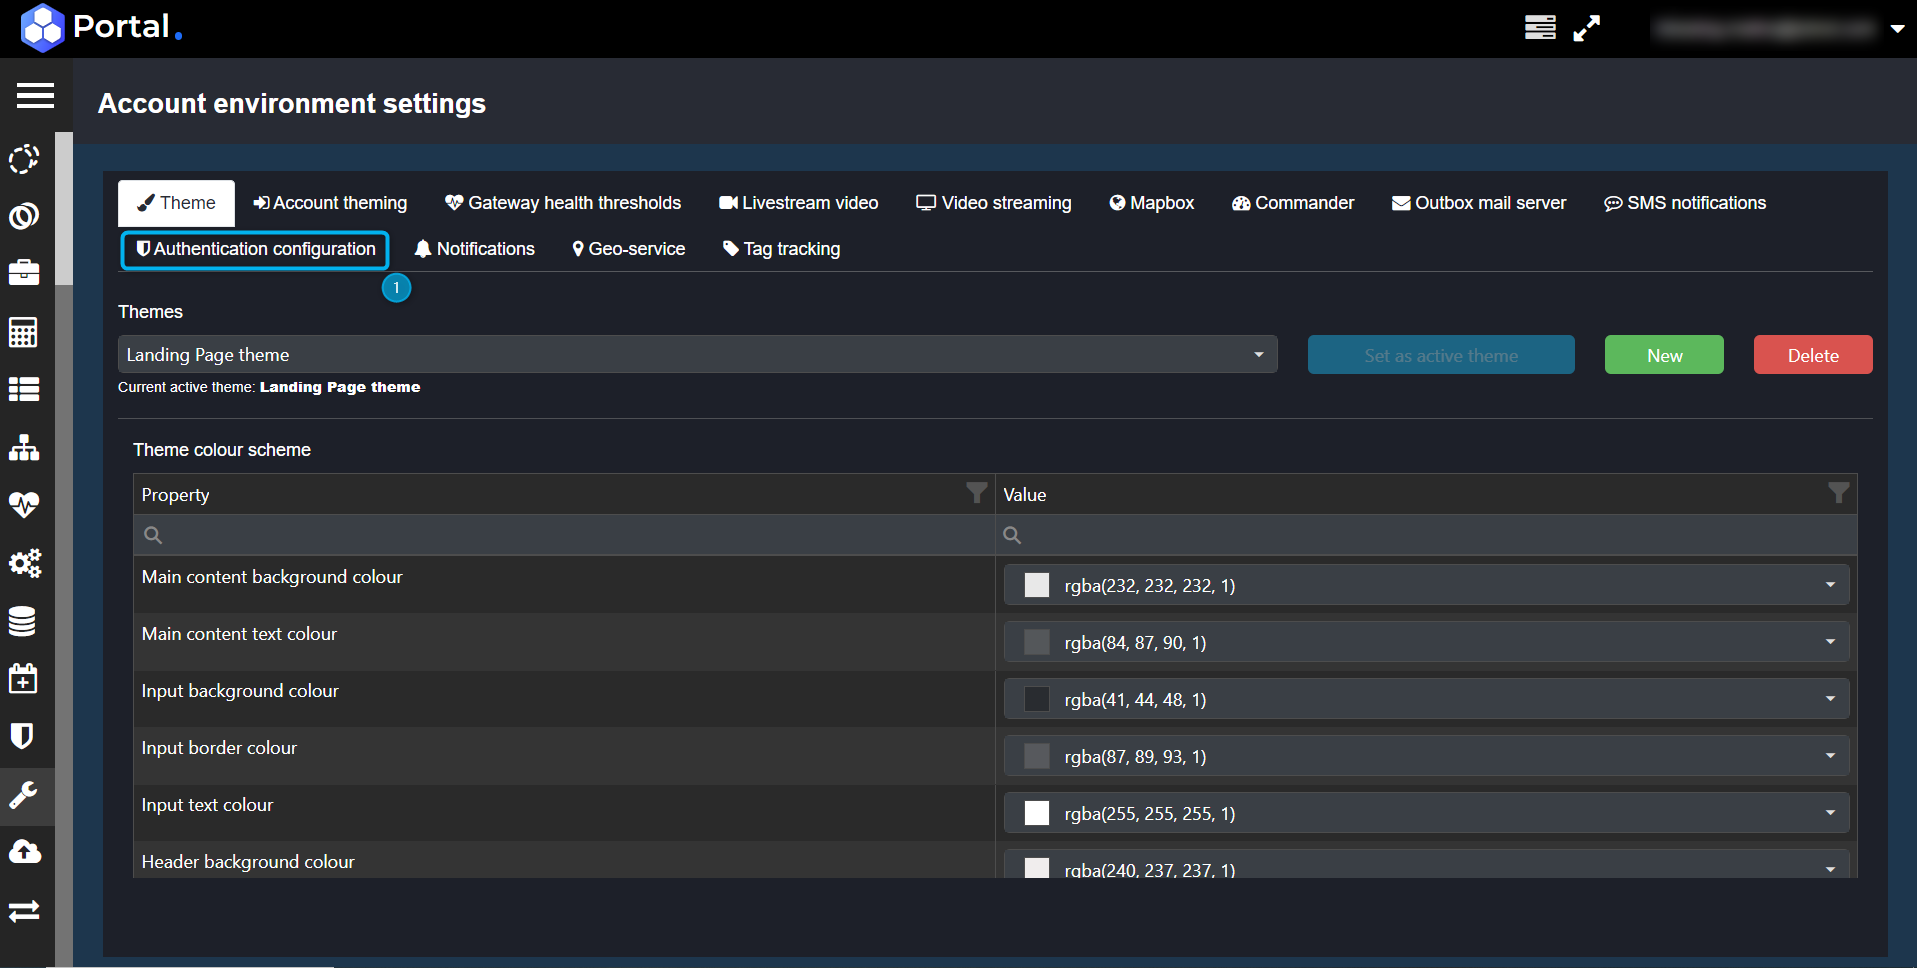
Figure 2 - Account Environment Settings
- Click on the Authentication Configuration tab.
- Navigate to the Google configuration section and click on the + icon on the right. This allows the user to add a new Client Id and Client Secret.
| To retrieve the Client Id and Client Secret from the Google Cloud Console, navigate to APIs and Services -> Credentials (as shown in the clip below). Select this link for more information on configuring Google Cloud integration. |
Clip 1 - Get Client Id and Secret from Google Cloud Console
- Navigate to the project name.
- Click on the download icon under Actions to open a window that provides the Client Id and Client Secret.
- Copy the Client Id and Client Secret.
The user can go back into the Commander environment, select the Authentication Configuration tab and have the following screen open:
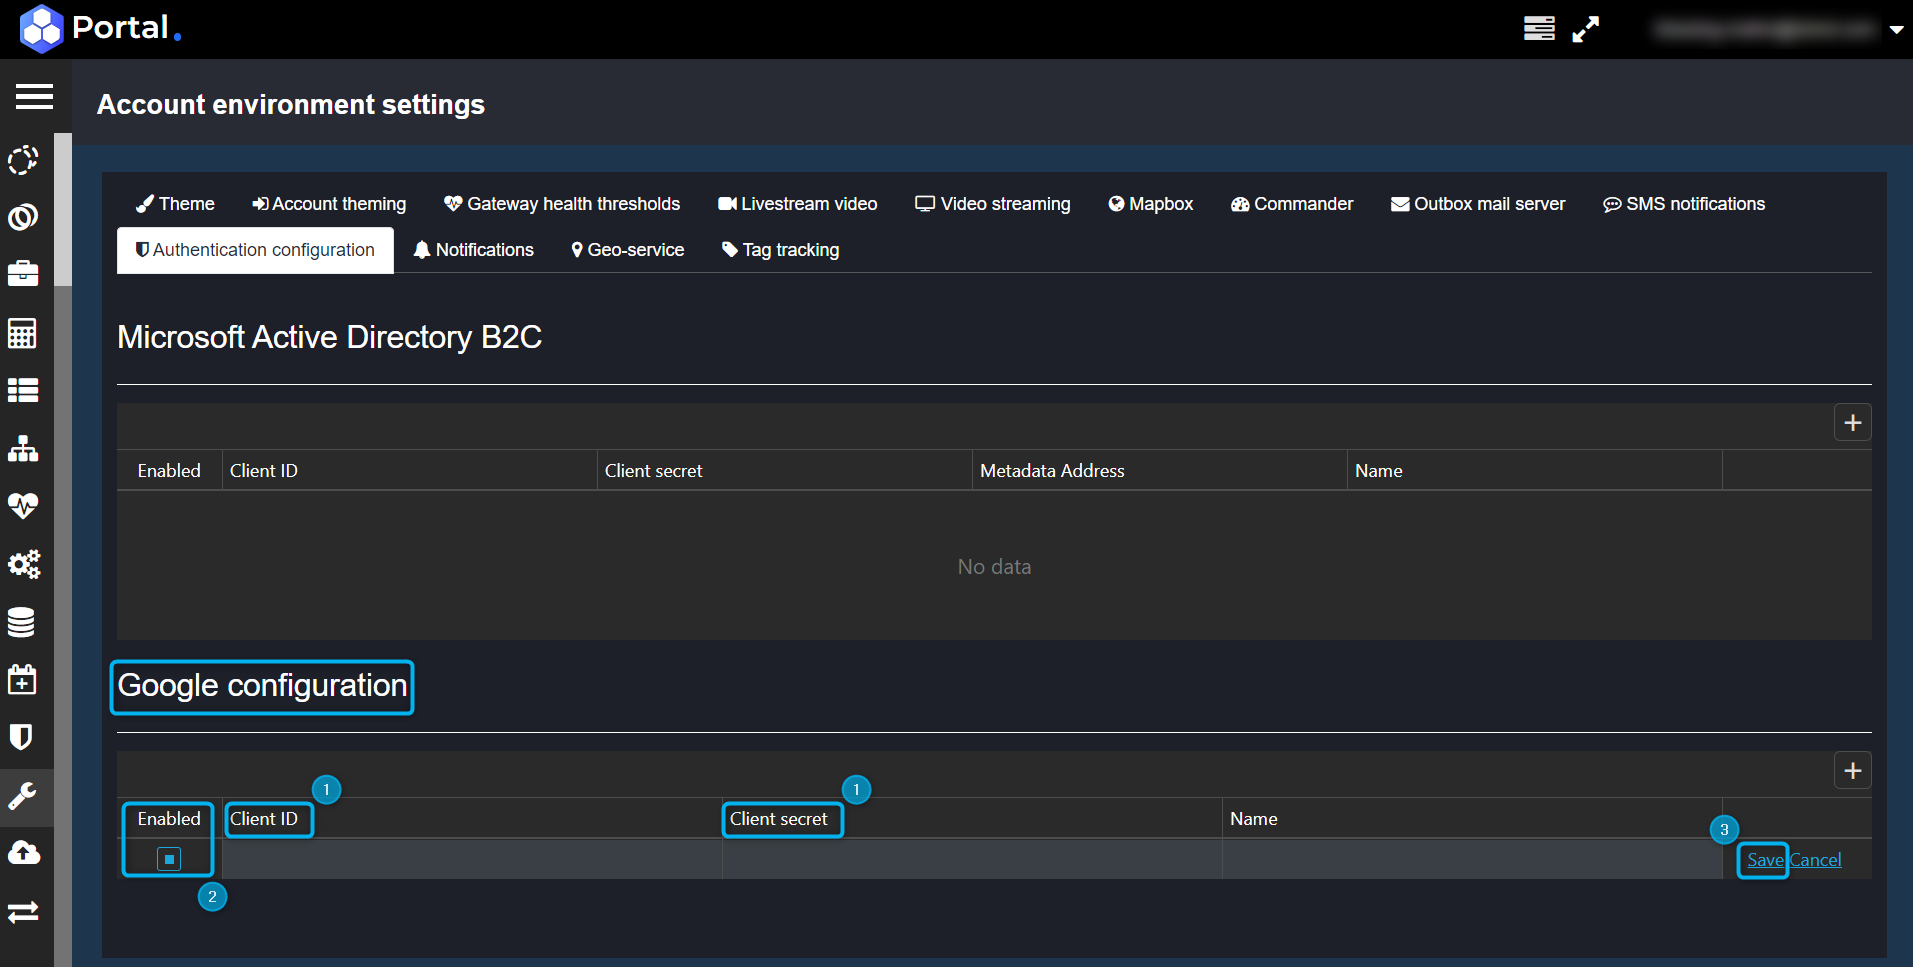
Figure 3 - Enable and Save Settings
- Paste the Client Id and Client Secret into the input boxes provided.
- Click on the box under “Enable” to enable the settings.
- Save the settings.
The “Log in with Google” icon will appear on the Commander Login page, allowing the user to log into Commander using Google.

Figure 4 - Log in with Google
Overview of Google Cloud and Commander naming conventions
| Commander | Google Cloud | Notes |
|---|---|---|
| Client Id | Client Id | Found under APIs and Services -> Credentials. Created in the Credentials section. |
| Client Secret | Client Secret | Found under APIs and Services -> Credentials. Created in the Credentials section. |
Account Theming
Each tenant can have custom logos and colour schemes set for their own login screen. The settings are available in Commander -> Portal -> Environment Settings -> “Account Theming” tab. To navigate through the interface (see Clip 2 below):
Clip 2 - Account Theming Tab
The Account Theming tab consists of two sections (Login and Email) as displayed in the clip above. The properties in each section can be edited manually. Whilst on the tab, a user can complete the relevant information (each required detail is described in full in the list below), and then click the UPDATE button on the right-hand corner of the screen. The following image is an example of a login screen where a tenant has made use of the Account Theming tab to customise the logo, colour schemes, and other properties.
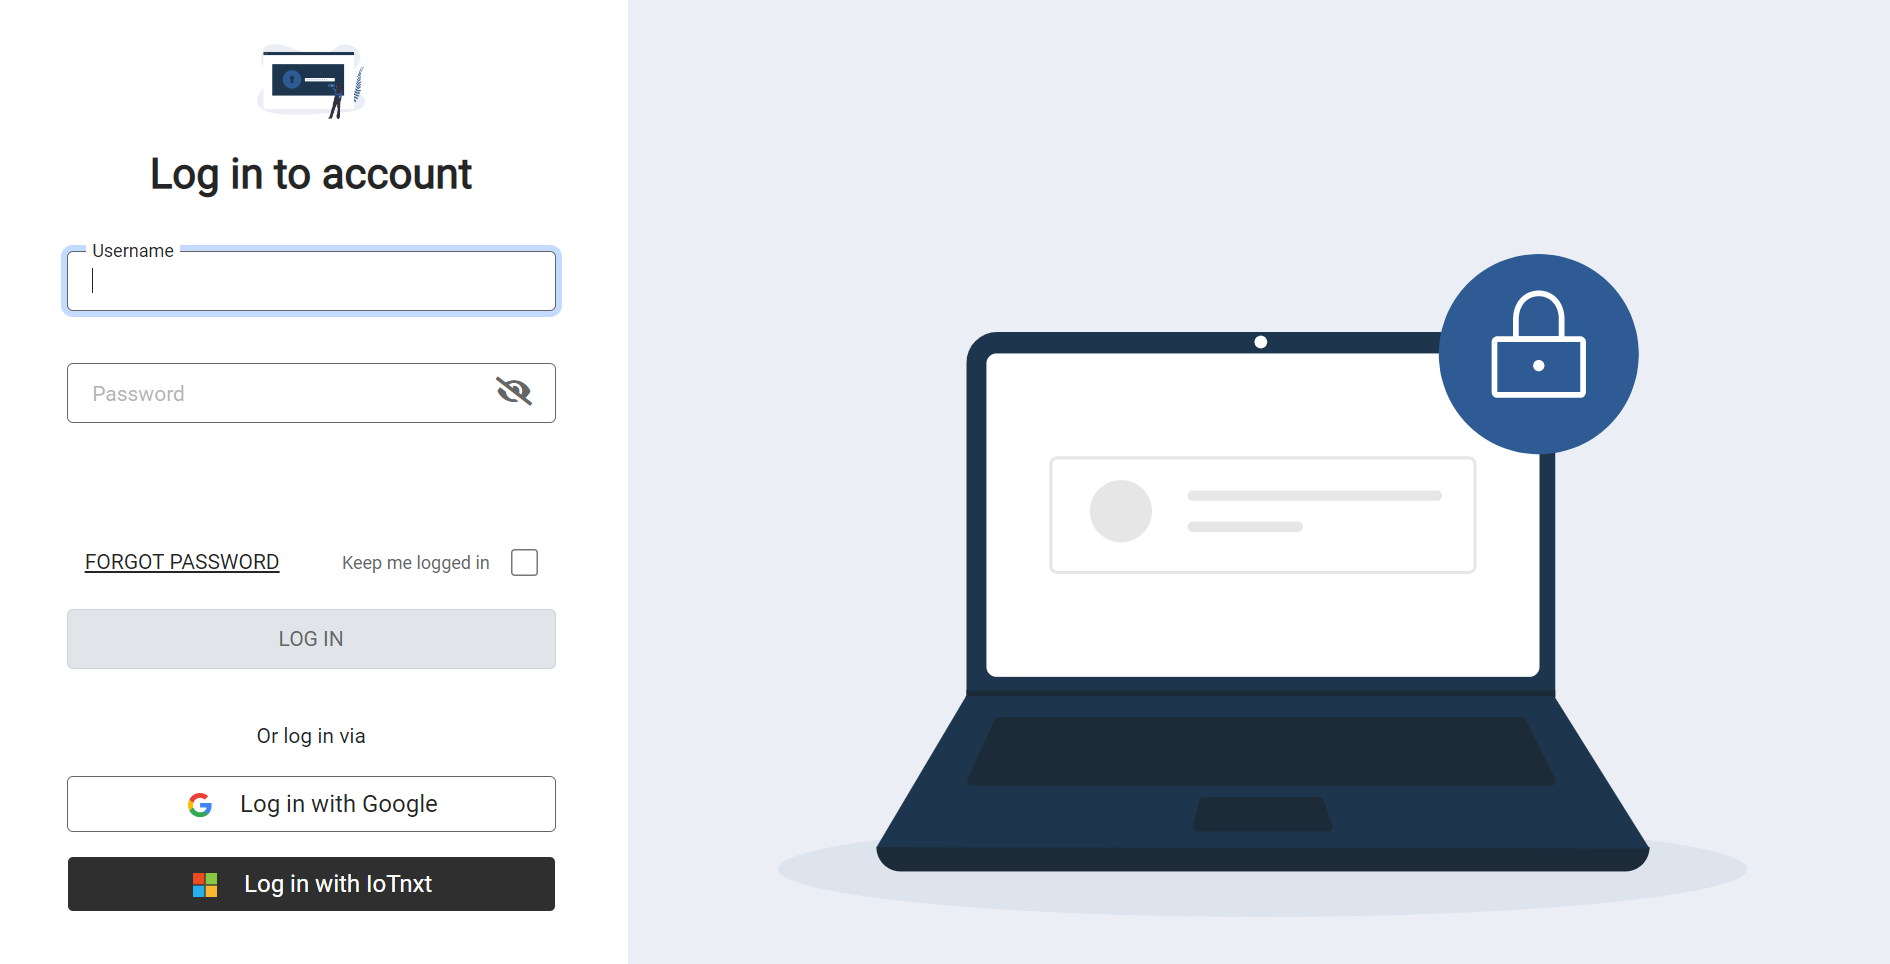
Figure 5 - Login Screen
- Welcome page text: the user can determine the main welcome text that a tenant first sees when the login screen is displayed.
- Background Colour: the user can set the background colour in the primary images.
- Primary Colour: the user can change the colour of the login button on the screen.
- Primary Background Image: the user can upload a background image in .svg format.
- Company email address: when the user updates the company email address, it will automatically be updated in two areas i.e the “contact administrator” section on the login screen, and also the password reset notification email that a user receives whenever they reset their password.
- Password reset image URL: the user can set the image that will appear on the reset password notification email.
- Company logo image URL: when a user signs in, they will receive the sign in notification in the form of an email. “Company logo image URL” will be displayed in this email (see Figure 6).
Terms of use wording: when a user signs in, they will receive the sign in notification in the form of an email.”Terms of use wording” will be displayed in this email (see Figure 6).
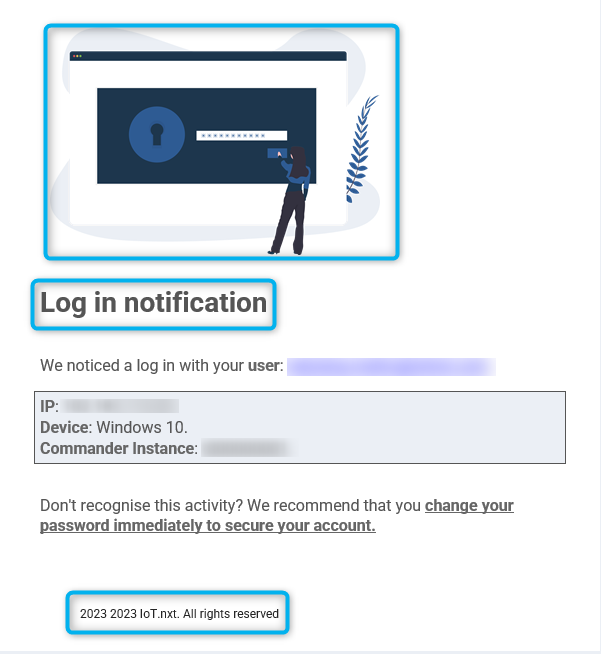
Figure 6 - Log In Notification
- Update: this button is used to save and update all the new information the user added.
- Revert to default: the user can reset the information for each property to its default settings.