
JSON Manual Mapper User Guide
Dec 6 2023 at 12:00 AM
Description
The JSON Manual Mapper User Guide serves as a comprehensive resource and reference manual for the JSON Manual Mapper filter within a Generic Driver. It offers instructions on how to effectively edit and use the capabilities of the JSON Manual Mapper filter. Additionally, it provides valuable insights into the background and functionality of the filter itself.
The JSON Manual Mapper filter operates by loading incoming payload data as a JSON document. Subsequently, it creates configured payload values by extracting data from specified JSON paths. The filter’s unique manual mapping nature empowers users to establish the expected structure of incoming payloads originating from the data source.
What To Expect
This document has been created with the intention of providing users with a clear understanding of the JSON Manual Mapper filter’s functionality and guiding them to use it easily and effectively. Whether a user is not familiar with the filter or seeking to enhance their proficiency, this guide aims to simplify the process of comprehending and using the JSON Manual Mapper filter.
Configuration of the JSON Manual Mapper Filter Node
This filter enables users to define routing key information and automatically assumes properties based on user input. They have the flexibility to specify property maps as needed. When configuring the node, clicking on the Configure the node button opens a new screen, specifically the ‘Property Definitions’ screen. Within this screen, the primary action available is to define the required properties. This process allows users to establish the necessary property parameters, tailoring the filter’s behavior to their specific needs.
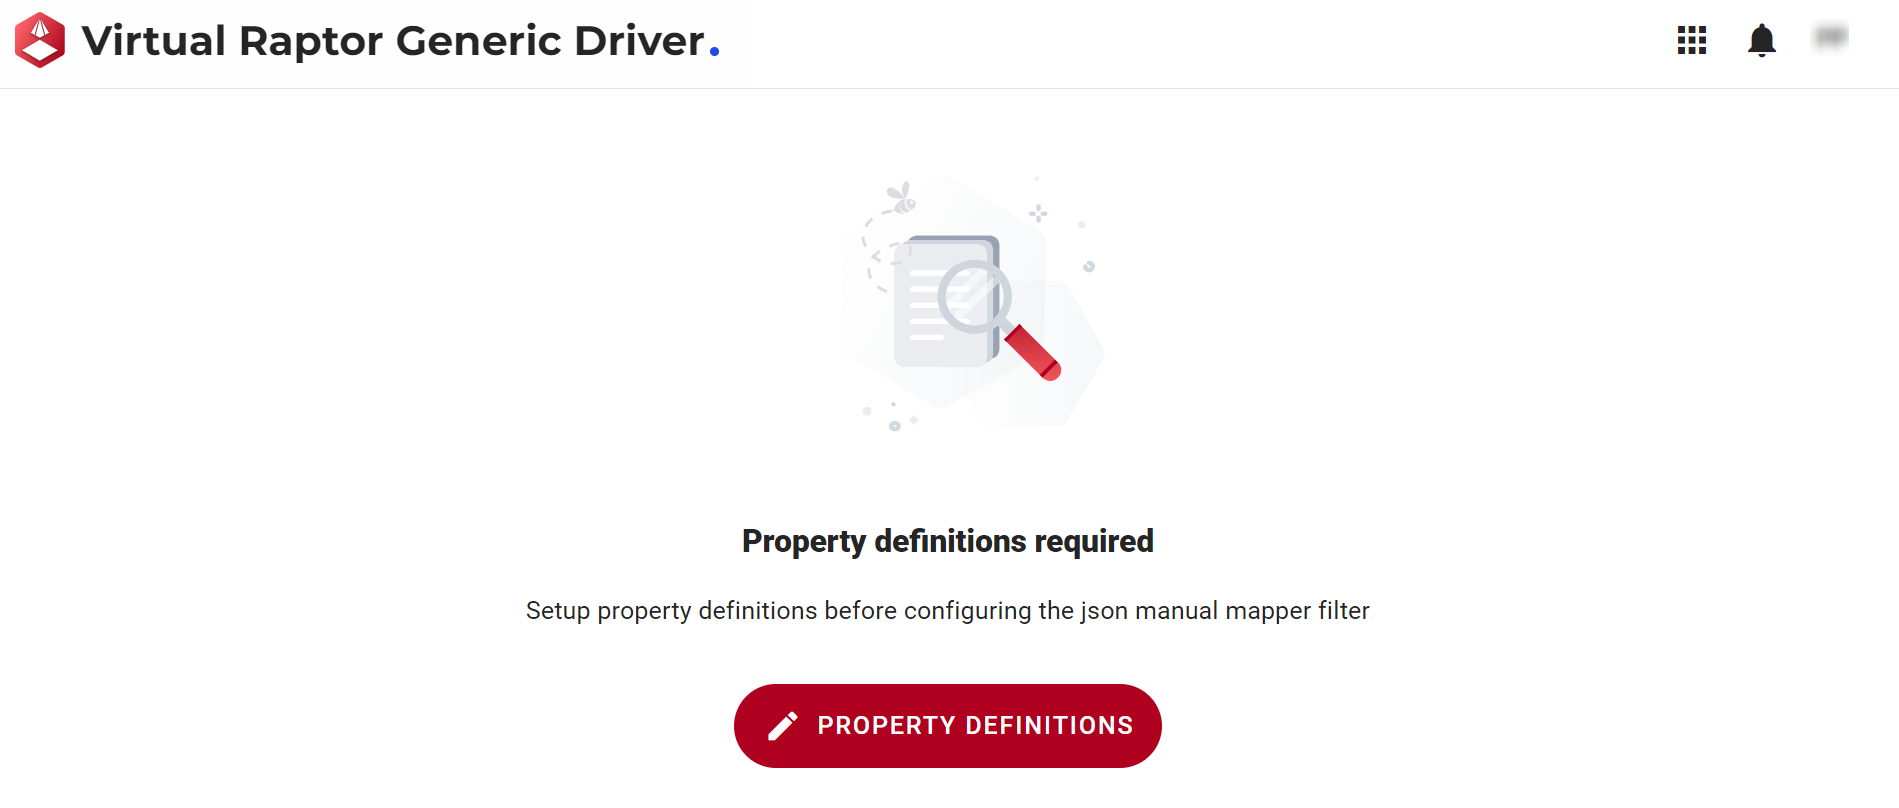
Figure 1 - Setting up Property Definitions
On the Property Definitions page, users will see their sample payload and its associated properties. Two methods to insert a sample payload:
- Importing a JSON File: Users have the option to import a sample payload by choosing the first method of importing a JSON file.
- ADD Button: Alternatively, users can employ the second method by clicking the
ADDbutton. This prompts an interactive process where users manually input the sample payload, offering a flexible and user-friendly approach to defining and refining the property definitions.
These options provide users with versatile ways to incorporate sample payloads, catering to diverse preferences and data sources.
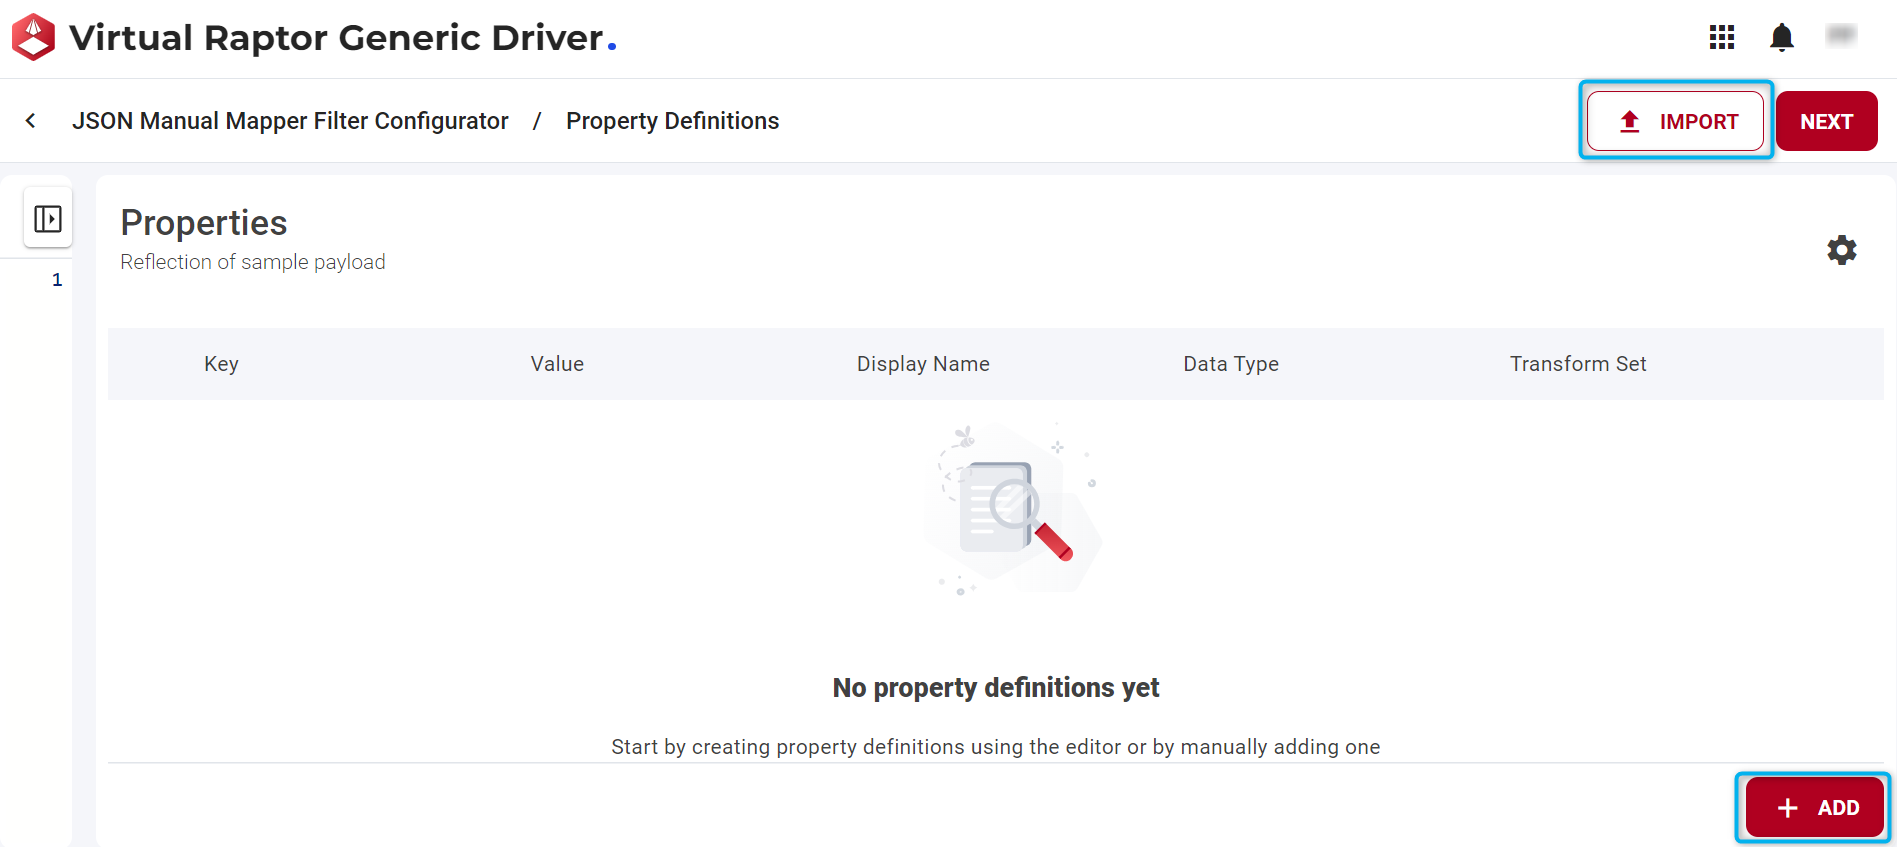
Figure 2 - Properties - Methods to insert a sample payload
Import Option
This option allows a user to import a JSON file. The properties inside this file are then defined into a properties list.
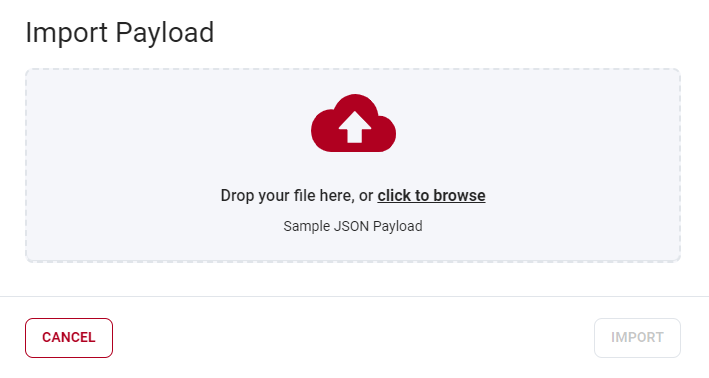
Figure 3 - Import sample JSON payload
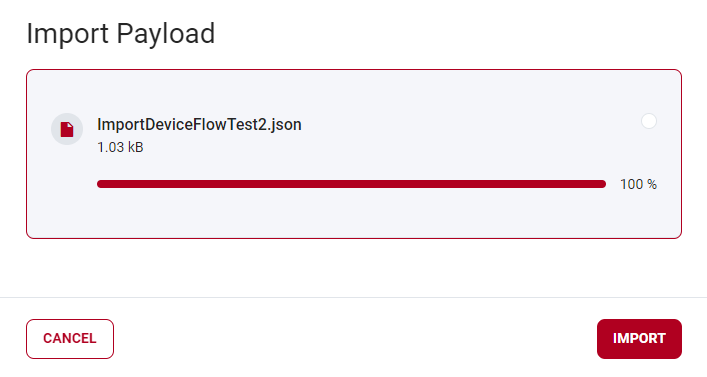
Figure 4 - Completing the sample JSON payload import
ADD Button Option
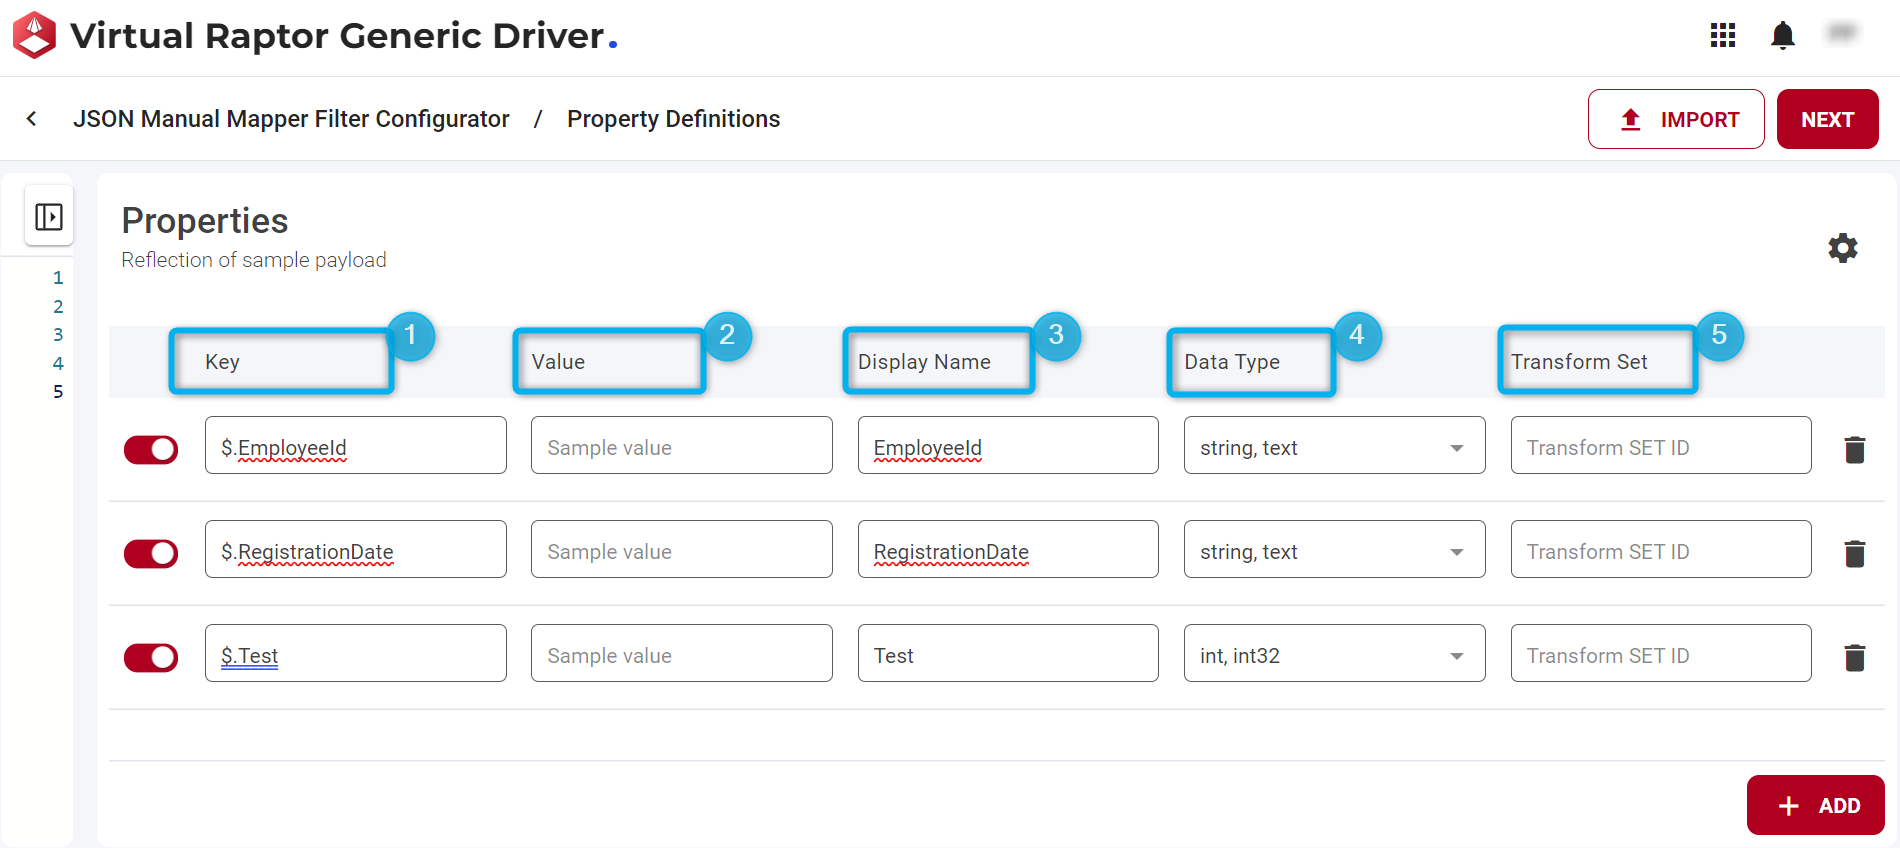
Figure 5 - Adding properties
This is the section where users can manually add properties, and any changes made here will be reflected in the sample payload. The properties to be added include:
- Key
- Value
- Display Name
- Data Type
- Transform Set
Upon importing or adding a sample payload, proceed by clicking on the NEXT button. This action will navigate the user back to the ‘Property Definitions’ screen. However, the appearance of this screen will be altered, reflecting the changes made after inserting a sample payload and defining properties.
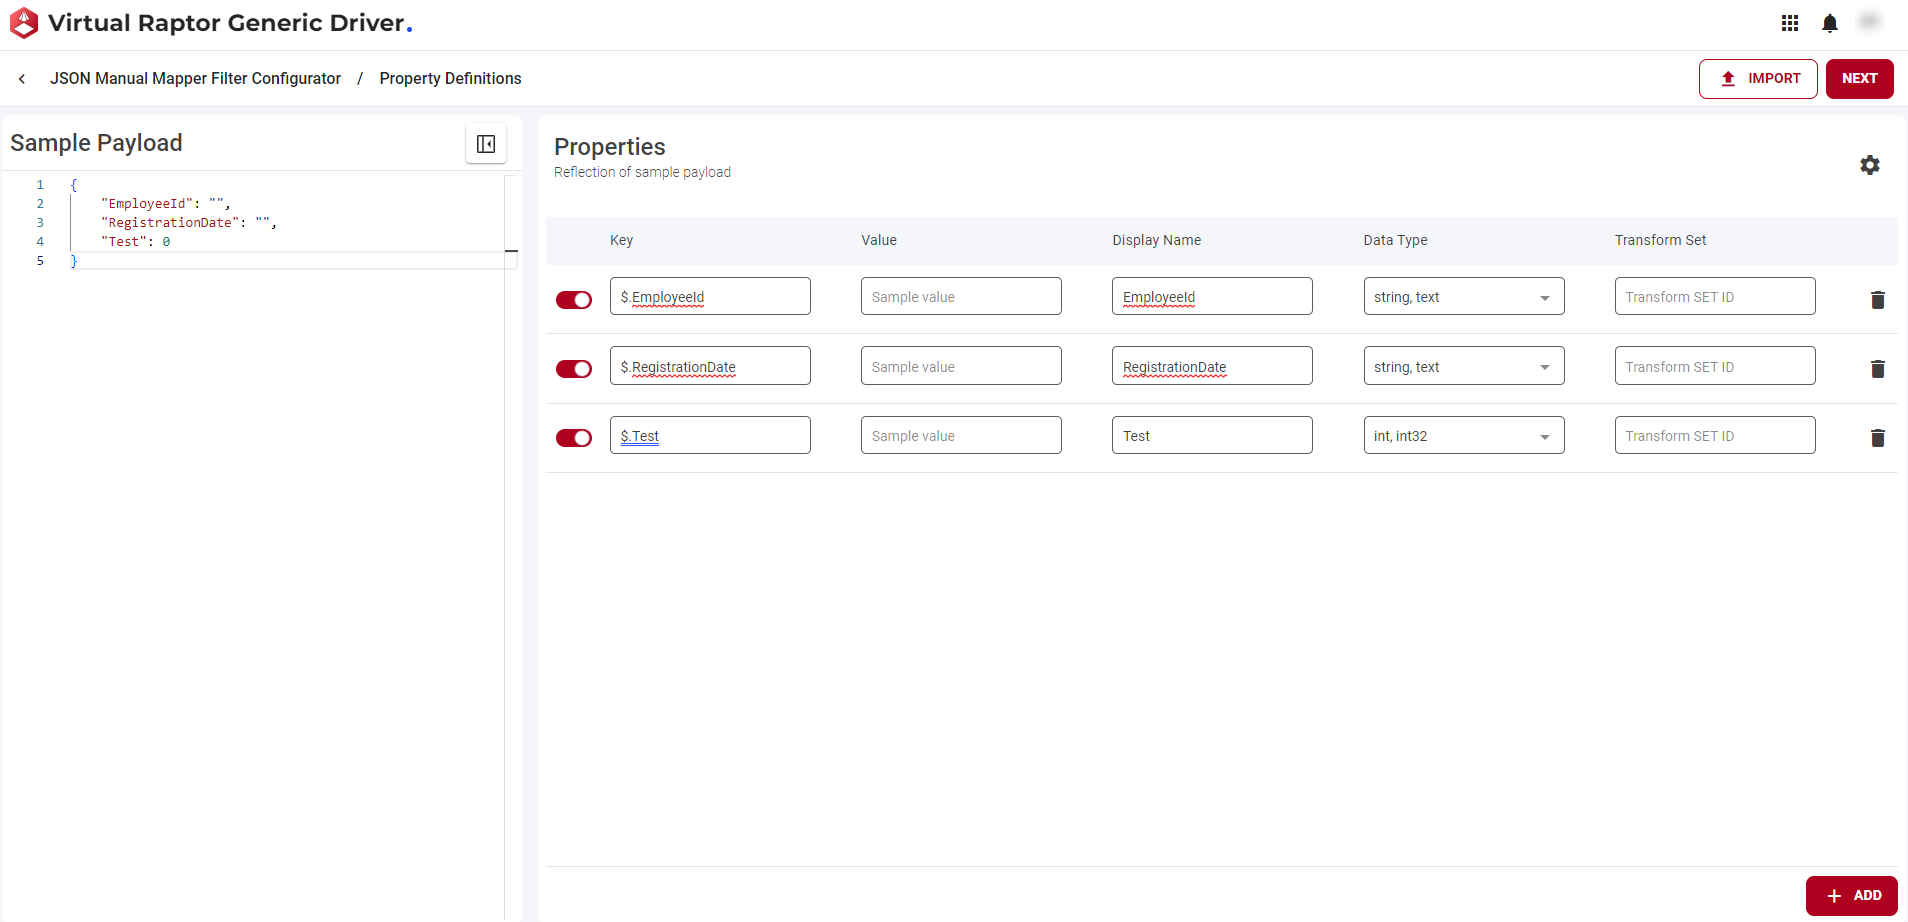
Figure 6 - Properties defined
The screen below presents two sets of information:
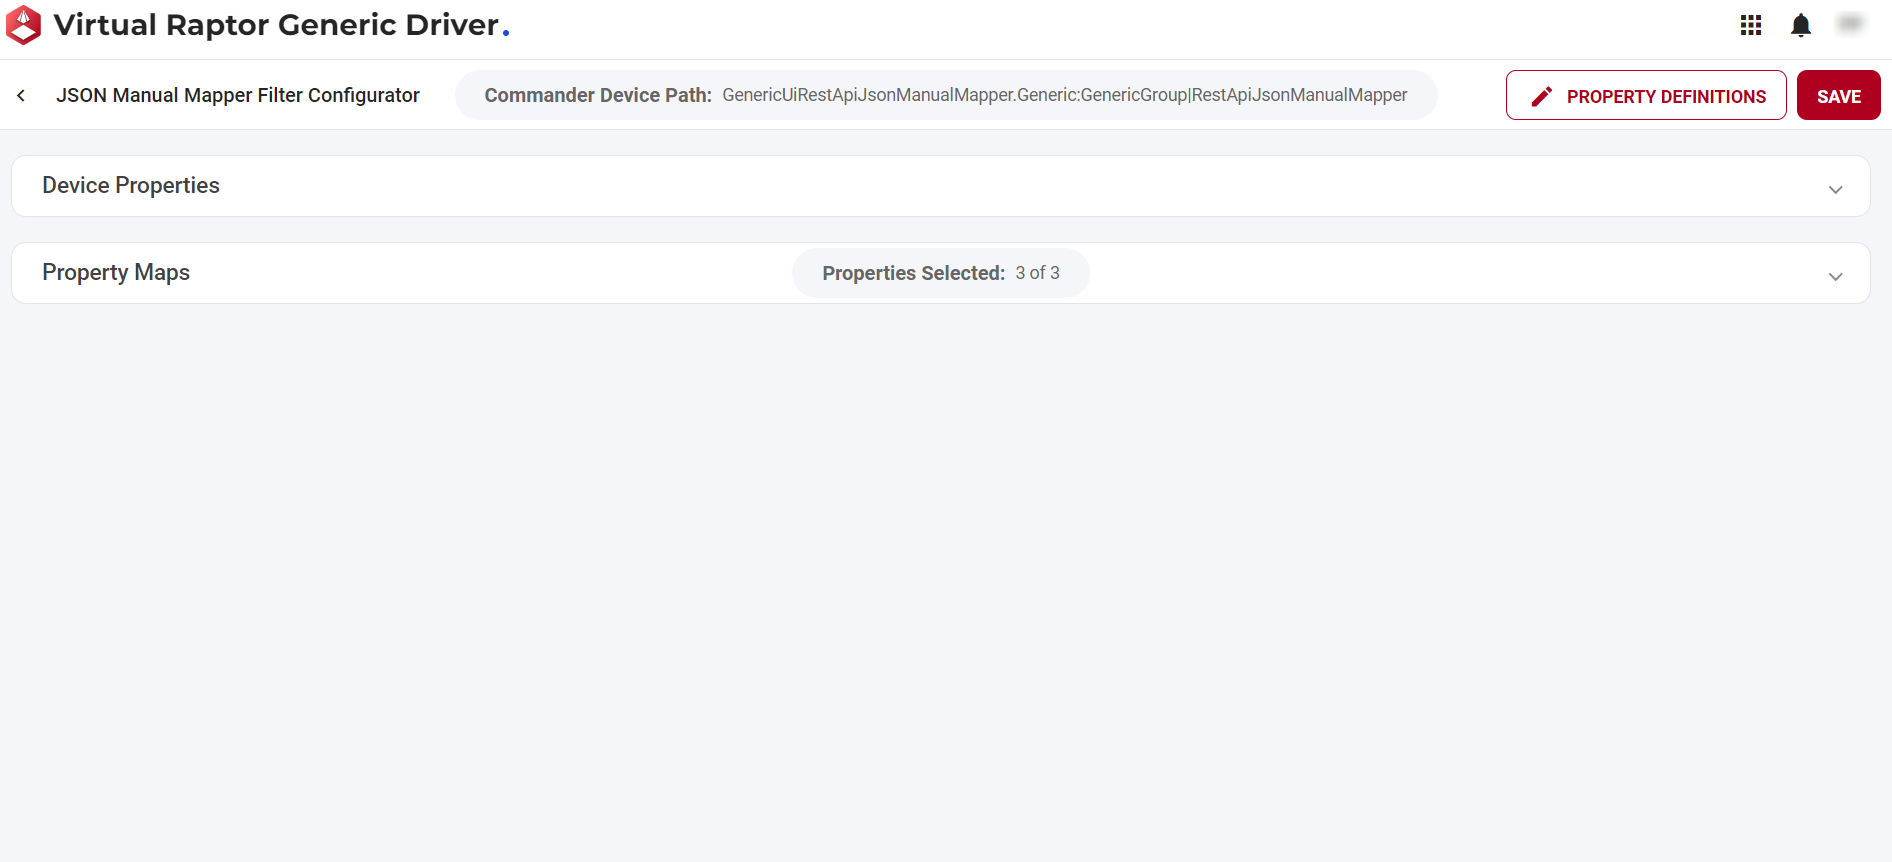
Figure 7 - Device Properties and Property Maps
- Device Properties: This section is used to determine the Commander device path.
- Property Maps: This section defines what actually appears in the payload, reflecting the specified properties. Additionally, within the property maps, users have the option to enable or disable individual property maps using the provided toggle.
Once all configurations have been defined, click on the SAVE button. If a user wishes to revisit and edit the properties, they can do so by clicking on the PROPERTY DEFINITIONS button as illustrated in Figure 8.

Figure 8 - Save and Property Definitions buttons