
Digital Twin Management
Jan 18 2023 at 12:00 AM
Overview
Digital Twin management allows the user to view live instances of DTs currently on the account, as well as add new instances individually or in bulk of a specified DT. This feature is situated in Commander Portal, underneath the Digital Twin Design feature.
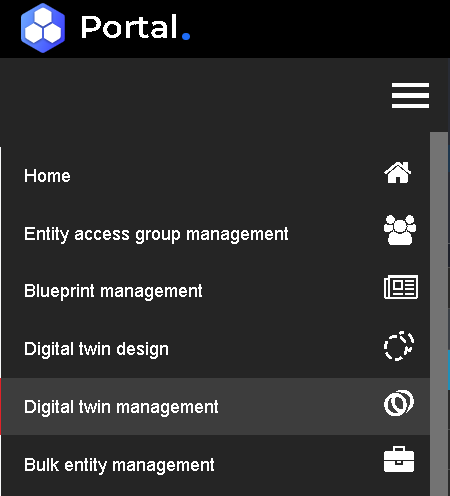
Figure 1 - Digital Twin Management Navigation

Figure 2 - Digital Twin Management: List of Digital Twins
Active Digital Twins list
This feature consists of 3 sections as demarcated in Figure 2. Section 1 provides the user with the full list of active Digital Twins on the account.
Existing Instances
Section 2 (Figure 2) displays the existing entities of the Digital Twin selected. Here the user can visualise:
- The name of the live instance,
- Where it is situated in the entity tree,
- The associated gateway it is linked to,
- The version of the Digital Twin the instance is on,
- The value of all Static Endpoints (SEPs) for that instance,
From here the user can also queue instances to be deleted by clicking the trashcan at the end of a row. This will not delete the instance immediately, but rather queue the deletion. The delete action can then be undone by clicking the undo arrow (that takes the place of the trashcan after selection), or the delete action can be processed by clicking save.
Instances to Add
Section 3 (Figure 2) allows the user to visualise the list of live instances they wish to create. This is done by one of two ways:
Manually add instances using Commander UI
When on the Instances to add tab in Digital Twin Management, the + option at the top right of the tab will start a new line in the table below where the user may now edit the line for the instance they wish to add, as can be seen in Figure 3. This method allows the user to add instances without the use of external programs. A new line will be added for each time the + sign is clicked.
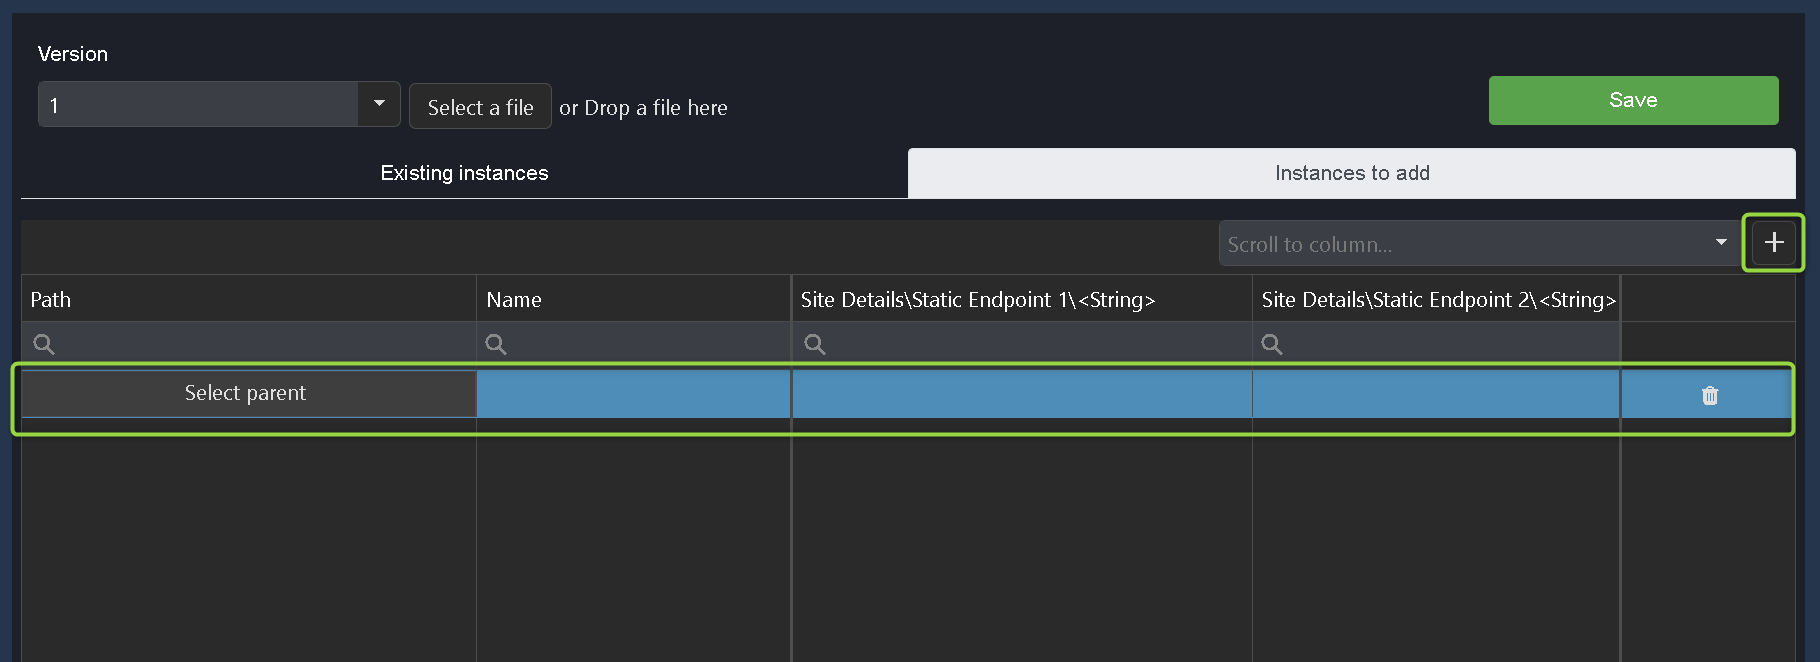
Figure 3 - Digital Twin Management: Adding Instances Manually
Add instances using Microsoft Excel
Alternatively, the user can select an excel or .csv file from their computer, or drag and drop that file onto the location indicated, as seen in Clip 1. This method allows a user to create a full database using a spreadsheet tool rather than adding each new instance one by one. Once the instances are populated in Commander, the user can click save to start the creation process.
Clip 1 - Drag and drop a file for bulk instance add
Creating the excel file
It is important to note that the file being selected for the bulk instance add must have the correct header format in order to the import to be successful. In order to create the correct format, use the following step-by-step guide:
- Navigate to Digital Twin Management,
- Select the desired Digital Twin from the list on the left,
- In the main window on the right, select an instance of the DT using the checkbox in a row,
- Click the export button and choose Export selected rows (This will export an .xlsx file),
- Open the excel file and you should see the following columns:
- InstanceId
- ParentId
- Name
- Path
- Version
- *Named static endpoints in the following columns (depends on Digital Twin)
- Enable editing,
- Delete the content in Column A: InstanceId - the instance ID is automatically populated for the Digital Twin instance once it has been added, thus these cells should be blank,
- Populate row 3 onwards with instances to be added, using row 2 (the exported existing instance) as a reference Note that the Parent ID (Column B) is the Unique ID of the parent entity in the entity tree, under which the user wishes to create the specific instance. This can be found by navigating to Entity Management and selecting the group under which the instance needs to be added,
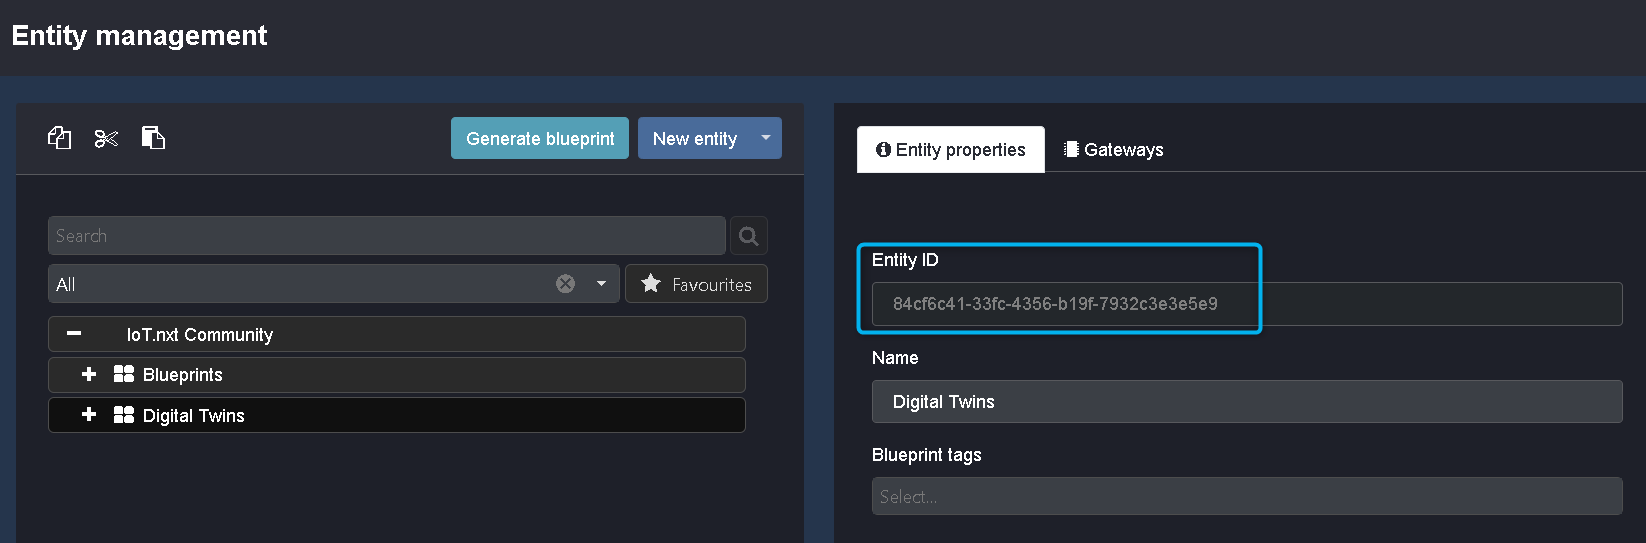
Figure 4 - Digital Twin Management: Adding Instances with Excel
- Delete row 2,
- Save
Your file should now look as shown in Figure 5.

Figure 5 - Adding Instances with Excel: File Format
Once the file has been selected (or dragged into Commander), the Instances to add tab will populate with the instances from the file. This allows the user a second opportunity to edit the entries if necessary. If all is in order and the creation process has started (by clicking save), the Task Action Panel (top right of Commander) can be expanded to view the progress of the instance creation process, as shown in Figure 6.
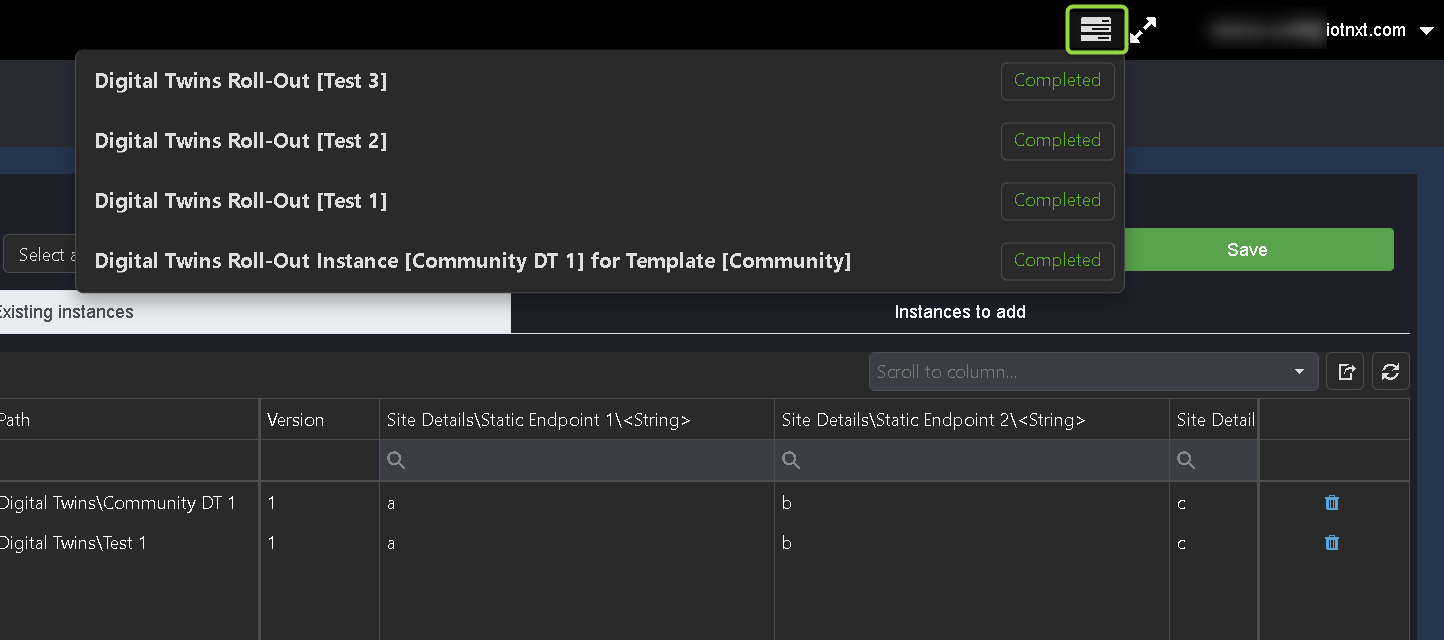
Figure 6 - Task Progress Bar
| If the file creation process above is not followed and/or the column headers to not match the selected digital twin, an error pop up message, as seen in Figure 7, will appear. Please check the file formatting in this case. |
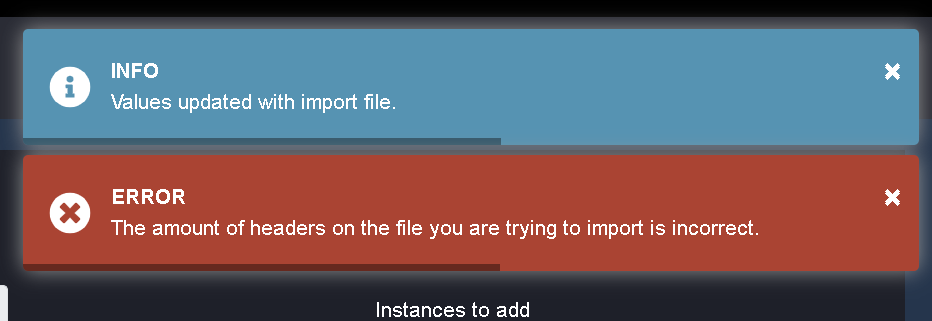 |
| Figure 7 - Error with file format |